How do I change my WordPress User’s Profile Picture without first login into the Gravatar.com website by following simple steps?
The above question is one of the most common questions that I often get asked about editing the WordPress User’s Profile Picture by website beginners.
Currently, I am still creating the Basic-Site.com website with WordPress.
The User’s Profile Picture is blank.
I want to change or edit my profile picture.
Replace it with Basic-Site.com Site icon or logo.
Basically, I am going to edit the Basic-Site.com profile picture by following these 10 simple steps.
How to change your WordPress User’s Profile Picture in 10 Simple Steps
- STEP 1 – Clicking The By Basic-Site.com Link
- STEP 2 – Viewing The BLANK User’s Profile Picture
- STEP 3 – Creating The NEW Basic-Site.com Logo Image
- STEP 4 – Accessing The Dashboard Inside WordPress
- STEP 5 – Installing The Simple Local Avatar Plugin
- STEP 6 – Accessing Users Profile Personal Options
- STEP 7 – Choose from Media Library
- STEP 8 – Choose & Set Your Avatar
- STEP 9 – Update Profile
- STEP 10 – NEW User’s Profile Picture
The 10 simple steps above are the short version of how I changed the WordPress User’s Profile Picture for the Basic-Site.com website.
Want the Long version?
If yes, come with me.
Now, let’s go through the long version of the 10 steps above and see how I edited the WordPress User’s Profile Picture in detailed step-by-step.
STEP 1 – Clicking The By Basic-Site.com Link

I clicked the By Basic-Site.com Link above and it opened the BLANK User’s Profile Picture Web page. Now, let’s take a look at how the WordPress User’s Profile Picture looked before I changed and edited it with the Basic-Site.com logo image.
STEP 2 – Viewing The BLANK User’s Profile Picture
When you look at the image above, you will notice how the User’s Profile Picture page for the Basic-Site.com looks blank. I wanted to change it. And the first thing that I needed to do was to create a simple website logo for Basic-Site.com.
STEP 3 – The NEW Website Logo Image
I created this NEW and simple Website Logo Image myself using Google Slide. I like simple Website Logos. Now, the next thing that I had to do was to login into my WordPress Dashboard and install the profile picture Plugin.
STEP 4 – Accessing The Dashboard Inside WordPress
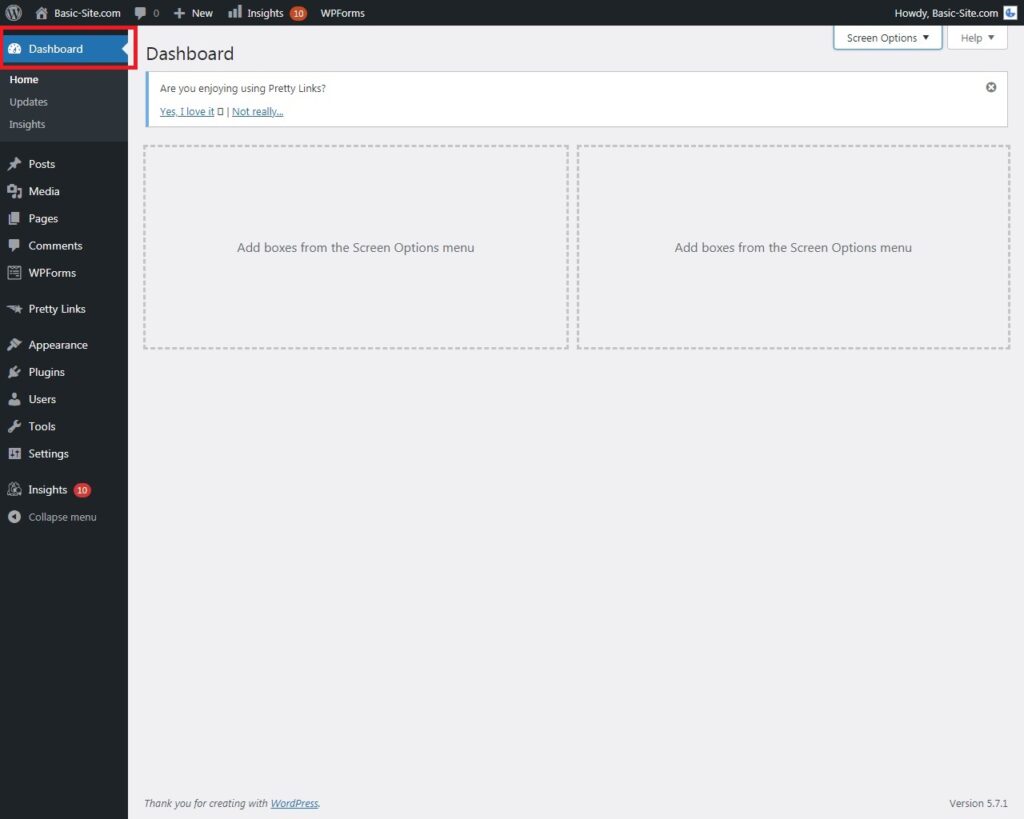
In the previous step, I created a logo image.
Going to use it as my profile image.
Above image, I signed into my WordPress using my Username and password.
Accessed my WordPress Dashboard.
Next step, clicking on WordPress Plugins.
STEP 5 – Installing The Simple Local Avatar Plugin
From inside WordPress Dashboard, I clicked Plugins to access Add Plugins page.
Typed Simple Local Avatar into the Plugins Search tool. to bring up the profile picture plugin.
Clicked Install Now to install the plugin and then Active to activate the plugin.
After the installation, I moved on to the next step.
STEP 6 – Accessing Users Profile Personal Options

Clicking Users from inside WordPress Dashboard will take you to the Profile Personal Options page.
From there, you can begin to scroll all the way down to the next step.
STEP 7 – Choose from Media Library
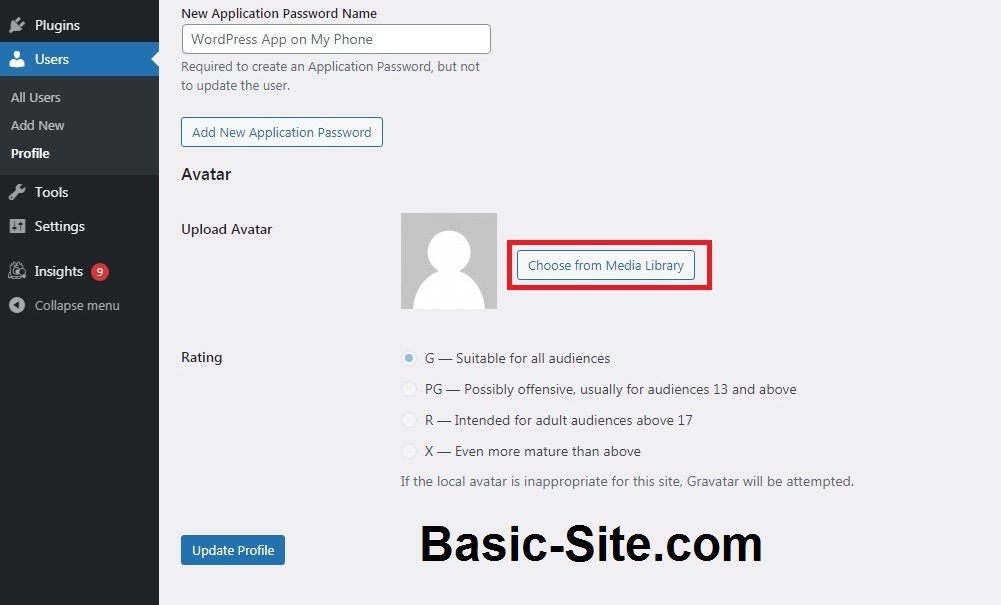
After clicking Users from inside WordPress Dashboard, I found myself inside the Profile Personal Options page.
Scrolling all the way down, I clicked on Choose from Media Library.
Taking me into the Media Library page. Tame to choose the image I created for Basic-Site.com profile.
STEP 8 – Choose & Set Your Avatar
More to come …