Building a WordPress website can seem daunting if you’re a beginner, but with this step-by-step guide, you’ll be able to create a professional-looking site from scratch.
Whether you’re starting a blog, launching a business site, or setting up an online store, WordPress offers flexibility, ease of use, and a vast array of features to bring your vision to life.
1) Choose a Domain Name and Hosting Provider

Domain Name: Your domain name is your website’s address on the internet (e.g., www.yoursite.com). It should be memorable, easy to spell, and reflective of your brand or content. Use domain search tools to check the availability of your desired name.
Hosting Provider: Web hosting is where your website’s files are stored, making them accessible online. Choose a reliable hosting provider that offers one-click WordPress installation, strong uptime guarantees, and excellent customer support. Popular options include Bluehost, SiteGround, and WP Engine.
Steps:
- Visit a hosting provider’s website and choose a hosting plan.
- Register your domain name (many hosts offer a free domain for the first year).
- Complete the purchase and note down your login details.
2) Install WordPress
Most hosting providers offer a one-click WordPress installation feature, making it easy to get started.
Steps:
- Log in to your hosting account.
- Find the WordPress installation option in your hosting dashboard (often under “My Sites” or “Website”).
- Click “Install” and follow the prompts, such as choosing your domain and setting your WordPress admin username and password.
- Once installed, you can access your WordPress dashboard by visiting www.yoursite.com/wp-admin.
3) Choose a Theme

Your WordPress theme dictates the overall look and feel of your website. WordPress offers thousands of free and premium themes to suit any type of website.
Steps:
- Log in to your WordPress dashboard.
- Go to “Appearance” > “Themes” > “Add New.”
- Browse the available themes or use the search bar to find one that fits your needs.
- Preview the theme to see how it will look on your site, then click “Install” and “Activate.”
For more customization options, consider purchasing a premium theme from marketplaces like ThemeForest or StudioPress.
4) Customize Your Site
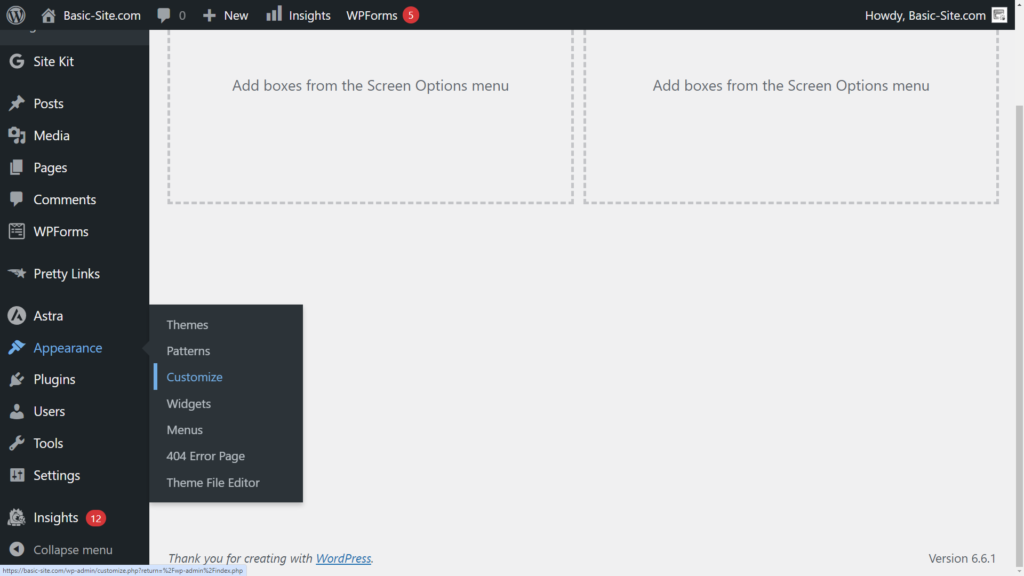
After installing your theme, it’s time to customize it to reflect your brand and meet your specific needs.
Steps:
- Go to “Appearance” > “Customize.” This will open the WordPress Customizer, where you can tweak various elements of your site.
- Customize your site’s title and tagline under “Site Identity.”
- Modify colors, fonts, and layouts under “Colors” and “Typography.”
- Upload your logo, set your header image, and adjust the site’s layout.
- Use the “Menus” section to create and manage your site’s navigation.
- Save and publish your changes.
You can also install page builder plugins like Elementor or Beaver Builder to gain more control over your layout and design without needing to code.
5) Install Essential Plugins
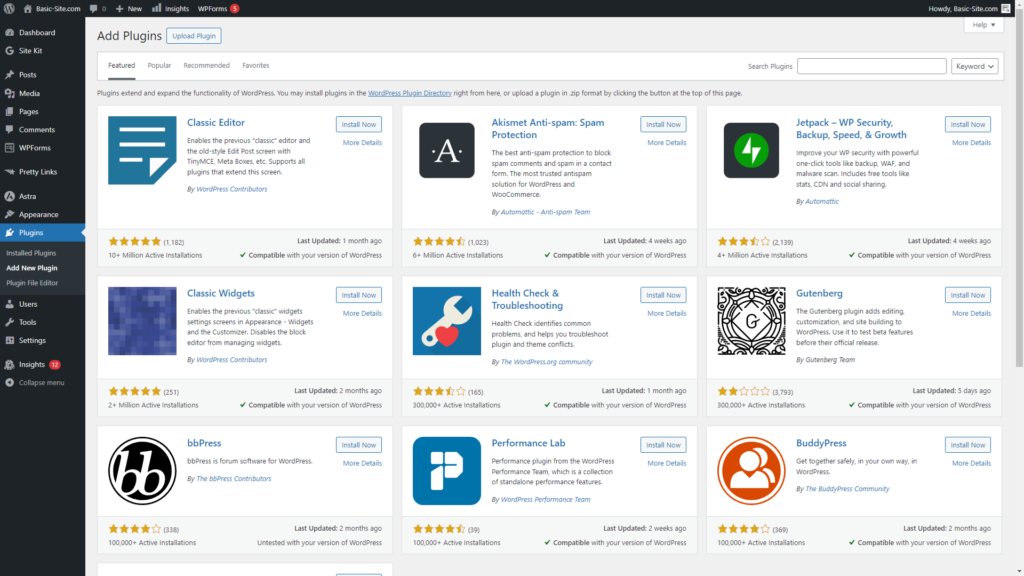
Plugins extend the functionality of your WordPress site. Depending on your needs, there are plugins for SEO, security, social media integration, contact forms, and more.
Essential Plugins:
- Yoast SEO: Helps optimize your site for search engines.
- Wordfence Security: Provides robust security features to protect your site.
- WP Super Cache: Enhances your site’s speed by caching pages.
- UpdraftPlus: Automates backups to ensure your data is safe.
- Contact Form 7: Easily create and manage contact forms.
Steps:
- Go to “Plugins” > “Add New” in your WordPress dashboard.
- Search for the plugins you need, then click “Install” and “Activate.”
- Configure each plugin according to your site’s requirements.
6) Create Essential Pages
Every website needs a few core pages to start with. These include:
- Home Page: This is the main landing page for your site. You can either create a static home page or display your latest blog posts here.
- About Page: Share your story, mission, and background with your visitors.
- Contact Page: Provide visitors with a way to reach you, whether through a contact form, email, or social media links.
- Blog Page: If you’re planning to run a blog, create a separate page to display your posts.
Steps:
- Go to “Pages” > “Add New” in your WordPress dashboard.
- Use the WordPress editor or a page builder plugin to add content to each page.
- Publish the pages once they’re ready.
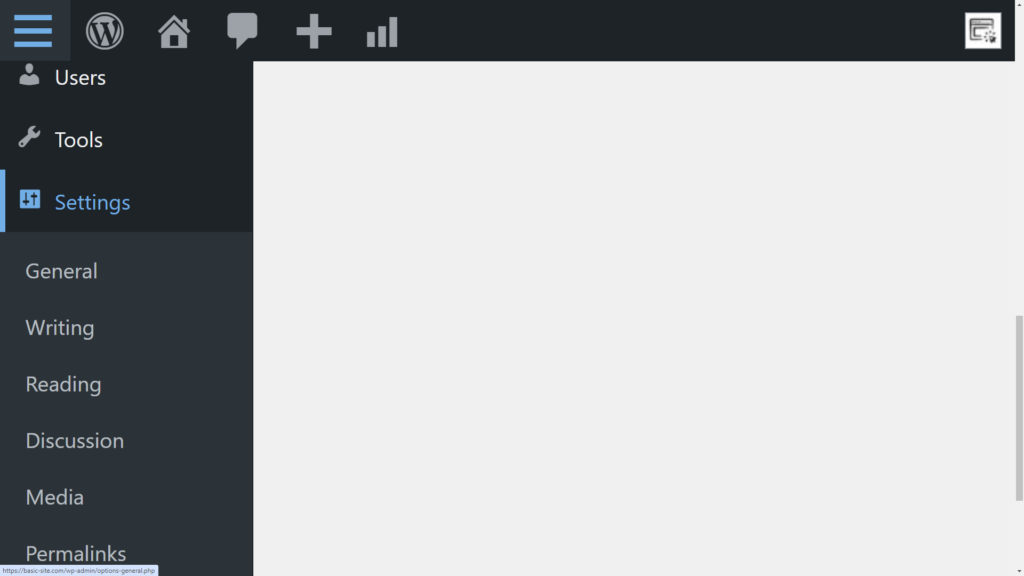
To set a static front page (instead of displaying your latest posts):
- Go to “Settings” > “Reading” and choose “A static page.”
- Select your desired home page from the dropdown menu.
7) Configure Site Settings
Properly configuring your site’s settings is crucial for performance, security, and SEO.
Steps:
- Permalinks: Go to “Settings” > “Permalinks” and choose the “Post name” option for SEO-friendly URLs.
- Reading: Set your home page and blog page under “Settings” > “Reading.”
- Discussion: Configure comment settings under “Settings” > “Discussion” to control how visitors interact with your content.
- Privacy: Go to “Settings” > “Privacy” to select or create a privacy policy page, which is required by law in many jurisdictions.
8) Optimize for SEO

Search engine optimization (SEO) is crucial for driving traffic to your site. WordPress is SEO-friendly out of the box, but there are additional steps you can take to optimize your site.
Steps:
- Install Yoast SEO: Use the plugin to optimize your meta titles, descriptions, and content.
- Optimize Images: Use an image optimization plugin like Smush to compress your images, improving site speed.
- Create an XML Sitemap: Use Yoast SEO or another plugin to generate a sitemap and submit it to Google Search Console.
- Internal Linking: Add internal links to your posts and pages to improve navigation and SEO.
9) Secure Your Website

Security should be a top priority for any website owner. WordPress is a popular platform, making it a target for hackers, so taking steps to secure your site is essential.
Steps:
- Install a Security Plugin: Wordfence or Sucuri can help protect your site from threats.
- Use Strong Passwords: Ensure all user accounts on your site have strong, unique passwords.
- Enable Two-Factor Authentication (2FA): Add an extra layer of security by enabling 2FA for your login page.
- Regular Backups: Use UpdraftPlus to schedule regular backups of your site, ensuring you can restore it if anything goes wrong.
10) Launch Your Website

Once everything is set up, it’s time to launch your site. But before you do, make sure you:
- Test Your Site: Check all links, forms, and plugins to ensure everything is working correctly.
- Mobile Optimization: Test your site on different devices and screen sizes to ensure it’s mobile-friendly.
- Speed Test: Use tools like Google PageSpeed Insights or GTmetrix to test your site’s speed and make any necessary improvements.
When you’re satisfied, announce your launch on social media, through email newsletters, and other channels to drive traffic to your new site.
Conclusion and Reminder

Building a WordPress website might seem overwhelming at first, but by following these steps, you can create a professional, secure, and high-performing site that meets your needs.
Remember to choose the right hosting provider, customize your site with a quality theme, and enhance its functionality with essential plugins. With the right foundation in place, your WordPress website will be ready to grow and succeed.